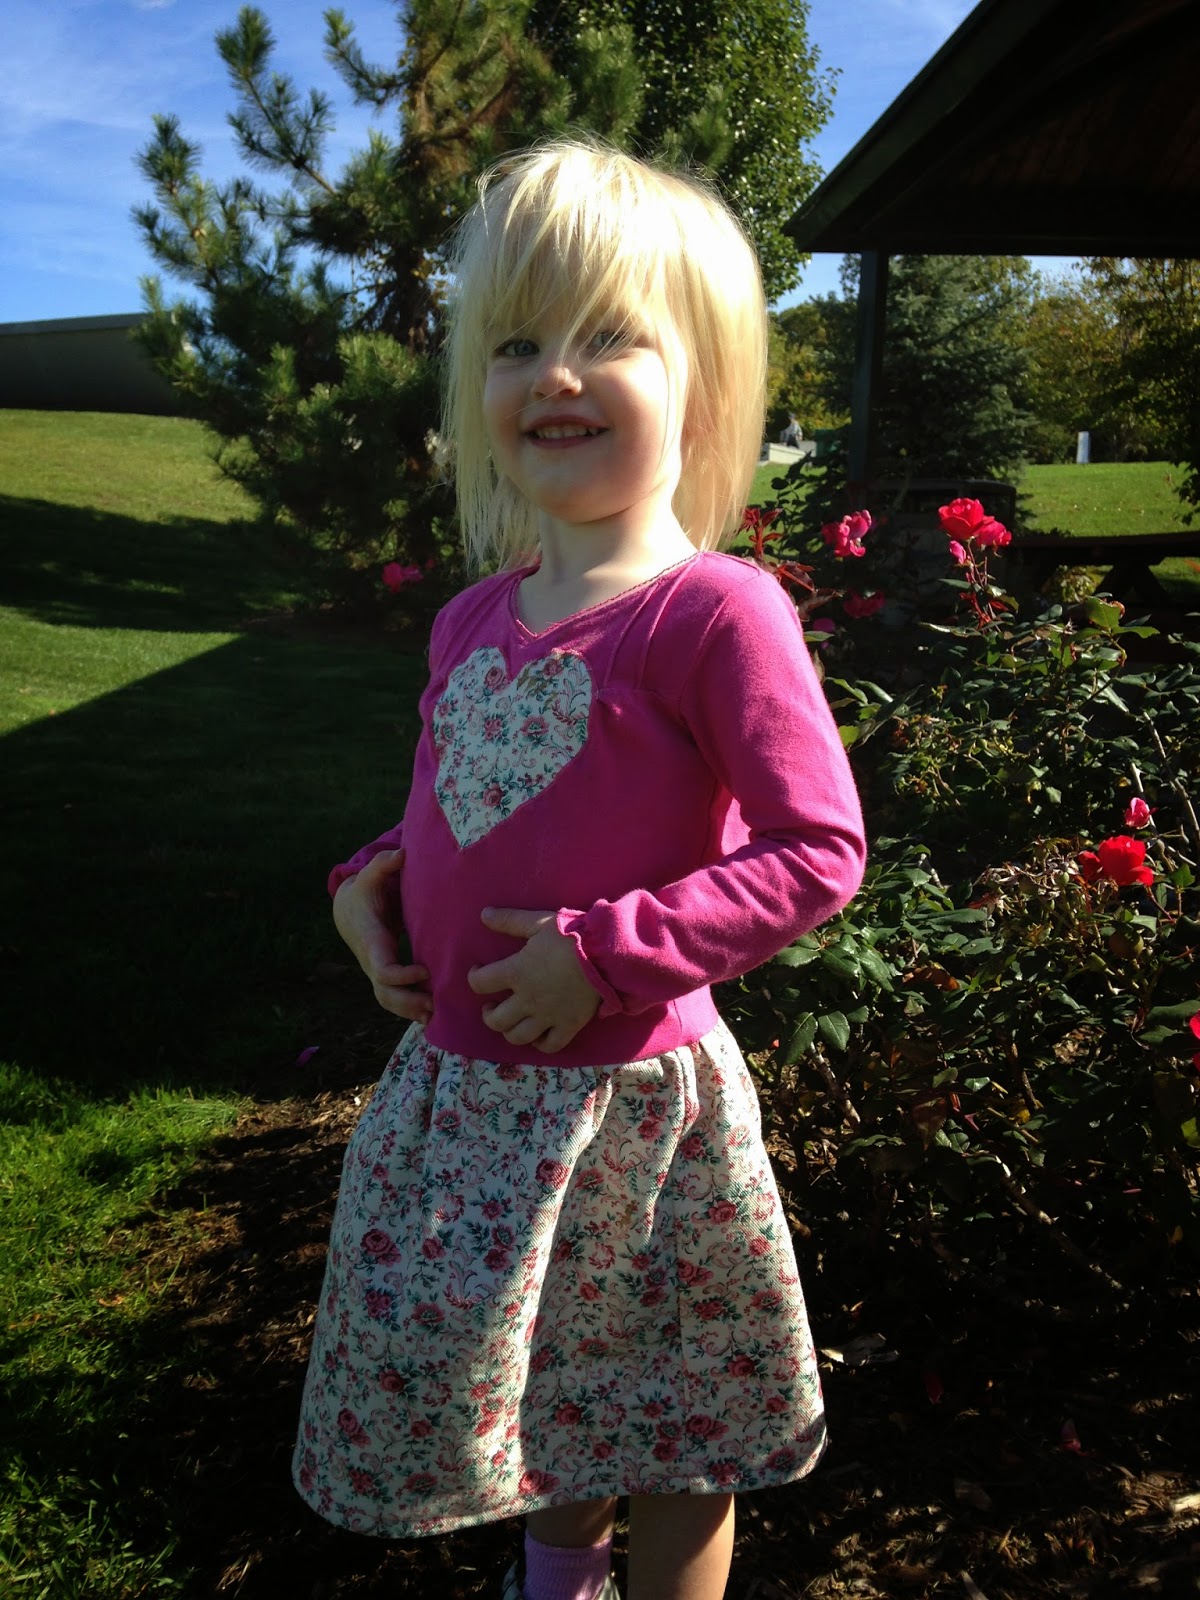
Mindy and I did a Holiday Challenge this year, started in February. Here's my report:
February: heart pillows.
March: Dr. Seuss print clothes for all my girls.
April: JE's birthday dress, because birthdays are holidays!
May: SM's birthday dress.
June: Nine Independence Day skirts for my 5 girls and 4 of their cousins.
July-August-September: the bottom fell out on my sewing mojo, and I did nothing for any holidays. That's when I need to start working on Halloween costumes and Christmas gifts, actually. In August, I was hoping to get a picnic blanket put together for Labor Day out of cut-up jeans. I started cutting old worn-out jeans one day in my living room with my kids "helping," and then the scissors had to get put away when JE started giving haircuts. We still have some extra-choppy bangs going on.
October: birthday dresses for RG and TA (and I started the Sew All 26 alphabet challenge. Always looking for something new to motivate myself!)
November-December: All the sewing for the Christmas gifts, which I just posted in my C and D alphabet posts.
These review posts are helping me organize my thoughts and see where I did well and where I need to improve. Hooray that I completed so many sewing projects! And I'm really glad I met the target of making birthday dresses for all 5 of the girls. For another round of the Holiday Challenge, I think it would be better for me to choose what holidays I'm going to work on through the year and some project ideas for each, all in one big list so I'm not trying to come up with new ideas all the time. The planning is what trips me up on a lot of things.
Showing posts with label Holiday Challenge. Show all posts
31 December 2014
26 December 2014
C is for cats, cottage, crimson-trimmed rug
C is for Christmas presents that also start with C - cats, a cottage, and a crimson-trimmed rug.
CATS
The girls and I were doing a random search for patterns to make stuffed animals, and found this great round-up at Sewing Support of LOTS of stuffed animals. They wanted this, that, and the other and this cat - the Cotton Candy Kitty - was included on their list. Ultimately, what it came down to was this was the only pattern that printed out well and I was running out of time. So they all got the same cat. (SM, our oldest, got a different gift from Dad - the other 4 girls got these cats.) Fortunately, it's part of the design to use regular quilting cotton for the fronts of the ears so that's how they're all different. They're made of fleece - pink with white dots. I embroidered the faces. Cats are actually a very popular toy at our house, since the girls have been told straight out that we will never have a real cat. Dad is allergic to them.
COTTAGE
This was Adam's brainchild - he built the frame out of PVC pipe and I covered it with fabric. The roof and 4 walls are 5 separate pieces all made from regular quilting cotton and wrapped around the pipe and attached with velcro. The door is that I cut and edged a slit in the pink fabric, and then just hand-stitched a flap of green felt across the top over it. There are no windows or other details on the sides and back yet - that will be a project for the girls and I to work on together in the next few weeks. I figure we'll cut things out of felt and hand-stitch them to the pink, the same as the door.
CRIMSON-TRIMMED RUG
I got the idea of making a kitchen rug a long time ago from one of the quilting blogs I read but there was no way I was going to put all that effort into a quilting piece just to stand on it in the kitchen. This was a piece of print duck canvas (who the heck thought of naming a type of fabric "duck"???), layered with an old towel for cushioning, and then a layer of the rubberized no-skid rug mat that I got from Home Depot. The border is bias tape. This was one of my gifts to Adam.
what we're talking about:
Holiday Challenge,
Sew All 26 challenge,
sewing,
toys
14 December 2014
C is for Christmas Cardigan
I completed Cupcake's Christmas skirt at Halloween, when I made her Bo Peep outfit reversible. I'm glad I did, because I haven't been able to do as much sewing as I've wanted to in the last few weeks. But it needed a little red sweater to go with it, and I couldn't find one anywhere. I was given one years ago for myself, that was always just a little too small, so I didn't mind resizing it down to fit her. I just laid a shirt on top of the sweater, traced around it, and resewed it all together. Done. The sleeves are a little snug, but it works for the few times she'll wear it this month. I may add a pin or button towards the top to add some sparkle.
what we're talking about:
children,
clothes,
Holiday Challenge,
holidays,
refashion,
Sew All 26 challenge,
sewing
01 November 2014
A is for Apron
My little Cupcake absolutely loves sheep, so it just made sense to dress her up as Little Bo Peep for Halloween. I finished the last of it for Kids Clothes Week last week.
Hat tutorial here and I added extra lace around the brim. I was worried that it was a waste of time because she never wanted to try it on, but she wore it the entire night of trick-or-treating!
I made the shirt months ago when I was making lots of peasant tops (basic tutorial here).
I tried to be practical with the skirt and made it a reversible circle skirt (found here). The flip side is Christmas fabric! Just need to find her a red sweater and her Christmas outfit is done.
Bloomers are the same basic pants pattern I use for everything (originally here). I used the cutest white eyelet for both the pants and the apron.
And for the apron there is no tutorial because I made it up as I went along. At first I made the elastic for around the back of the neck too long, and then I cut it and made it too short. It worked for the night of trick-or-treating, but if I'm going to keep it for future use, I think I'll cut the elastic entirely and make it straps to tie.
As a bonus, my friend Sherry made her a crinoline. And Grandma had made her the cloak for her baby blessing two years ago, and it was perfect for keeping her warm without detracting from the outfit.
what we're talking about:
costume,
Holiday Challenge,
KCW 2014,
Sew All 26 challenge,
sewing
22 October 2014
B is for buttons
More birthday dresses - another B word, and another Holiday challenge entry!
RG chose her pattern - the Oliver + S music box jumper (same as SM in May), and chose her fabric at JoAnn. It totally suits her. I made the pattern according to the proper sizing (altered for SM) but gathered the skirt rather than pleating it. I wish I'd made it a little longer for her, but it's fine.
She also chose the buttons on the back, which is the fun part. Note that they're doing the ombre thing - light at the top and getting gradually darker as they go to the bottom. The clothes I make are still super simple and basic, but I'm getting a little better at adding details and making things more personalized.
RG chose her pattern - the Oliver + S music box jumper (same as SM in May), and chose her fabric at JoAnn. It totally suits her. I made the pattern according to the proper sizing (altered for SM) but gathered the skirt rather than pleating it. I wish I'd made it a little longer for her, but it's fine.
She also chose the buttons on the back, which is the fun part. Note that they're doing the ombre thing - light at the top and getting gradually darker as they go to the bottom. The clothes I make are still super simple and basic, but I'm getting a little better at adding details and making things more personalized.
what we're talking about:
Holiday Challenge,
Sew All 26 challenge,
sewing
21 July 2014
June holiday sewing for July
My June sewing for our holiday challenge was nine Independence Day skirts - 5 for my girls, and 4 more for cousins for our family reunion. I was blasting through finishing the skirts at 10 pm the night before we left on the trip, and ended up inserting the waistband elastic at the reunion for 4 of them.
These shots were indeed taken on July 4 - fun day! I got pictures of all but one of the skirts, and please excuse the black corners - my camera's automatic lens cap is getting funky on me. JK's skirt (middle picture on the left) turned out a lot shorter than I was going for - I need to add a super-wide ruffle to the bottom to lengthen it, so she can wear it again without her diaper hanging out. SM's skirt was way too big in the waist - not sure how that happened because I'm pretty sure I measured the elastic on her before I inserted it. It literally fell off her when she put it on the first time, so I just pinned it until we got home from the trip and now it's in my mending pile.
The pattern/tutorial for all of them was the Simple Skirt, and I got the idea for all the ribbons from the Fiesta Skirt. My secret addition was pockets on all but the 2 babies' skirts. Instead of only one seam up the back on the rectangle of fabric, I cut it in half so there were 2 side seams, and added pockets. I saw something somewhere about pockets but I couldn't find directions again so I figured it out on my own ... and did them backwards the first time so it wasn't a totally smooth process. But they are really easy - I'll put directions with photos up here ... later. And the pockets were all fun Independence Day prints, hidden away for a surprise (except SM, who wanted patch pockets on the front so that's what she got). It was really fun to have all the little cousins in sorta-matching clothes - all the same red fabric but the ribbons were all different.
Happy Independence Day!
29 June 2014
June Sewing Projects
Shortened the green dress so she can actually run and play in it.
Made another pair of pajama pants.
A ruffle shirt for the 4th.
A bit oversized so she can wear it for a few years.
31 May 2014
May holiday - another birthday dress
I'm totally counting the birthday dresses for the Holiday Challenge, because if your birthday isn't a holiday then what is it? Yes. I know you know what I mean.
So here we have SM's birthday dress:
The pattern was the Oliver + S music box jumper, and SM chose the fabric at JoAnn. I learned how to do pleats with this pattern. The one thing I didn't get a picture of is that there are buttons all the way down the back - a dozen pink glittery buttons that she chose herself. (Big surprise.)
So here we have SM's birthday dress:
The pattern was the Oliver + S music box jumper, and SM chose the fabric at JoAnn. I learned how to do pleats with this pattern. The one thing I didn't get a picture of is that there are buttons all the way down the back - a dozen pink glittery buttons that she chose herself. (Big surprise.)
30 May 2014
ruffled tote
Not a lot of sewing this month. I had a large commissioned drawing to get done, a week long babysitting job, and my husband's new company getting started.
I did do my holiday challenge for the month though! After making so much for my little girl, it was about time I did something for myself - a ruffle tote bag. Technically for Mother's Day (and I am now a mother, so I count), even though it happened a few weeks late. I had a tote bag that was falling apart, so I reinforced it and add a few ruffles on top. Next time I'll make sure the ruffles overlap more.
Projects coming up: a reversible baby bucket hat (that I'm terrified of), another pair of pajama pants, and possibly a red-white-and-blue little something for the reunion in July.
I did do my holiday challenge for the month though! After making so much for my little girl, it was about time I did something for myself - a ruffle tote bag. Technically for Mother's Day (and I am now a mother, so I count), even though it happened a few weeks late. I had a tote bag that was falling apart, so I reinforced it and add a few ruffles on top. Next time I'll make sure the ruffles overlap more.
Projects coming up: a reversible baby bucket hat (that I'm terrified of), another pair of pajama pants, and possibly a red-white-and-blue little something for the reunion in July.
01 May 2014
birthday dress for #3 turning 4
Birthday dress #2 for the year, for JE! I did a size 5 of the roller skate dress/tunic from Oliver + S - I am LOVING their patterns! This is the 3rd O+S pattern I've done just since Christmas - the nightgowns, and JK's Dr. Seuss dress (which was for her birthday), and now this. It's a fully lined dress so I've seen a couple of online sewing gurus make this into a reversible dress. I wasn't quite that ambitious this time - maybe next time I use this pattern. My learning curve on this one was the lining - I hadn't done anything like that before.
It's pink and white gingham with little white daisies all over it, and lined with solid pink. I had ordered the gingham from online a long time ago and it was just sitting there waiting for someone to pick it up. JE thought it was great because it's PINK! I was originally going to line it in white but I couldn't find white at the fabric store when I was getting a few things - I came across some pink and laid the gingham over it to see how it would show through, and it made the flowers stand out a lot more than if they were backed in white. So it worked out GREAT! The bow on the front is gold ribbon, and she has gold summer sandals to wear with it.
She loves to pose like she's dancing - she has her arms out in most pictures of I take of her these days.
13 April 2014
KCW Spring
My two shirts for KCW. I didn't follow the theme, but I did get my holiday challenge done - an Easter peasant shirt with puffy blue sleeves. I got the directions for the teal ruffle shirt here. It took a long time - tearing, ironing, hemming, stitching, ruffling, pinning, sewing - times NINE. I would consider doing a ruffle skirt in the future, but not with so many ruffles. But it was something I wanted to do, so I'm glad I did it. It'll be perfect for the summer.
14 March 2014
Dr. Seuss!
March holiday!
Even though we're homeschoolers, we still participate in our own way in Read Across America, which is a public school thing where they read Dr. Seuss books and do Dr. Seuss activities for a day. It's to encourage kids to read. We take an entire week of reading loads of books ... which, to be totally honest, is nothing new or different for us. But it's an excuse to set aside "boring" things like math and writing, and just read the whole week for school. This year, we added going to 3 different libraries in surrounding communities rather than our own. Aaaaaand ... we have Dr. Seuss clothes now!
This started as an accident. I was trying to order flannel for a baby blanket, and when the green character print arrived, it was not flannel. Just regular cotton. So I figured I'd make some fun skirts with it, and ordered the stripes and the spots. The stripes are actually from the Dr. Seuss line as well - I don't know if you can tell from the top picture, but the stripes are not clean, straight lines. They're a little bit squiggly. The red criss-cross on the top 2 skirts was something I had bought for another project that also worked with this. I got the Seuss fabric from fabric.com - it's the Celebrate Seuss collection from Robert Kaufman.
The 4 older girls all have tiered skirts - I used the directions in this old post from Craftiness Is Not Optional. SM and JE (#1 and #3) have their middle level wider than the top and bottom, and pockets. RG (#2) has no top yoke, just a ruffle around the bottom. She also wanted pockets. SM's pockets were from the dress pattern I made for the baby, but the other 2 just had squares cut and added. TA (#4) has the closest to the original tutorial with her tiers all even, or at least as even as I could get them. The seam allowances still throw me off a little bit, but I am going to declare the tiered skirt mastered and move on to something else. There are a billion and one skirt ideas out there. I need to not get so stuck on doing the same thing over and over ... even though if you want to use multiple fabrics, tiers are useful for that.
And the baby, down at the bottom, got the Oliver + S ice cream dress. It's my second pattern to use from them. The top cuff on the pockets threw me off a little bit while reading the directions, but once I got over the bump, they came together perfectly and the dress looks great. (The dress also fits TA perfectly as a tunic shirt, so I don't have to trace off another size to make her a top. Yay!)
Even though we're homeschoolers, we still participate in our own way in Read Across America, which is a public school thing where they read Dr. Seuss books and do Dr. Seuss activities for a day. It's to encourage kids to read. We take an entire week of reading loads of books ... which, to be totally honest, is nothing new or different for us. But it's an excuse to set aside "boring" things like math and writing, and just read the whole week for school. This year, we added going to 3 different libraries in surrounding communities rather than our own. Aaaaaand ... we have Dr. Seuss clothes now!
This started as an accident. I was trying to order flannel for a baby blanket, and when the green character print arrived, it was not flannel. Just regular cotton. So I figured I'd make some fun skirts with it, and ordered the stripes and the spots. The stripes are actually from the Dr. Seuss line as well - I don't know if you can tell from the top picture, but the stripes are not clean, straight lines. They're a little bit squiggly. The red criss-cross on the top 2 skirts was something I had bought for another project that also worked with this. I got the Seuss fabric from fabric.com - it's the Celebrate Seuss collection from Robert Kaufman.
The 4 older girls all have tiered skirts - I used the directions in this old post from Craftiness Is Not Optional. SM and JE (#1 and #3) have their middle level wider than the top and bottom, and pockets. RG (#2) has no top yoke, just a ruffle around the bottom. She also wanted pockets. SM's pockets were from the dress pattern I made for the baby, but the other 2 just had squares cut and added. TA (#4) has the closest to the original tutorial with her tiers all even, or at least as even as I could get them. The seam allowances still throw me off a little bit, but I am going to declare the tiered skirt mastered and move on to something else. There are a billion and one skirt ideas out there. I need to not get so stuck on doing the same thing over and over ... even though if you want to use multiple fabrics, tiers are useful for that.
And the baby, down at the bottom, got the Oliver + S ice cream dress. It's my second pattern to use from them. The top cuff on the pockets threw me off a little bit while reading the directions, but once I got over the bump, they came together perfectly and the dress looks great. (The dress also fits TA perfectly as a tunic shirt, so I don't have to trace off another size to make her a top. Yay!)
Happy reading! Our favorite Dr. Seuss books are Mr. Brown Can Moo, Can You? and The Cat in the Hat. Our favorite Dr. Seuss movie is The Lorax.
06 March 2014
St. Patrick's Day Dress
There are so many things I love about this dress, and a few things that I don't. I made this dress all by myself - no cheater t-shirts. I started with a simple bodice pattern, and then tweaked it until I liked it. I finally got flutter sleeves figured out. I love the fabric, and the button loops and the green trim.
Next time I need to make the bodice just a little bit bigger around the middle - it fits better than the shirt did, but it's still a bit of a pain to get on and off. And most importantly, I need to cut the skirt at an angle, so it is fuller at the bottom - Cupcake struggles to run and play because it is a little constricting.
I'm sad that it isn't perfect, but I'm still pretty proud of myself. And I'm aware of the things I need to change for future projects. Not sure what is next on my list of things to do. I've been meaning to make myself a tote bag (need a nice big one for the library). Easter is coming up, so I could work on that project (I have the fabric, not sure what it'll be). I'm not happy with how all of Cupcake's shirts are becoming too short, so I want to try my hand at peasant tops. Or I'll take a break until KCW next month and focus on some artwork.
18 February 2014
Nothing Says Love Like Practicality
I wanted to join the challenge of sewing for seasons and holidays. I really did. I made a Pinterest board and had all these cute ideas for Valentine's decor and gifts, and we were going to set a sweet table with a well-planned, fancy dinner. And then life happened. Late nights, papers to grade, long hours for my hubby, school concerts...etc., etc. So I decided that, rather than kill myself trying to make something that was PURELY seasonal, I'd go along with (what I interpreted to be) the "spirit" of the challenge and do something FOR a holiday. And that led me to focus on sewing my Valentine's gifts, rather than the decorations (which were essentially nonexistent, by the way...a candle on the table and red placemats).
Our family follows the Dave Ramsey financial plan, and we are working our oldest kids into it; the little one doesn't care yet, but loves money! Anyway, the girls have been using -- for a year -- envelopes that we write "Give", "Save", and "Spend" on to keep up with their money. The envelopes rip, get wet, and get lost, and we have replaced them often; they also weren't great for holding coins. Last week, though, I found a seller on Etsy who made three-pocket zip wallets for just this purpose. They were a little pricey, but I was able to dash off two of my own in about an hour.
They are really easy to make. You need:
-2 pieces each of exterior and lining fabric (mine were 9" x 4.5")
-1 zipper (mine was 7")
-ribbon or twill tape for the labels (I used ribbon and wrote with a Sharpie; it bled a little on the satin but was great on the grosgrain. Next time, I might try using printable iron-on transfers because I think they would look neater.)
-matching thread
First, measure where you want your tags; I folded the fabric in half longways, pinned on there, and then divided the remaining distance equally for the other two. Baste the tags into place. Then lay one lining fabric face-up, place the zipper face-down on it, and lay one exterior fabric face-down, then sew them together along the zipper. Iron both pieces of fabric out away from the zipper. Then do the same thing on the OTHER side of the zipper. When you iron the pieces out again, the two lining fabrics will be on one side (facing up); if you flip the whole thing over, the two exterior fabrics will be on one side facing up. Next, unzip the zipper about halfway (to help with turning later). Pin the two matching fabrics together, right sides in. Sew from the middle of the bottom of the lining, around one side, across the bottom of the exterior, down the other side, and back to about 2 inches from your start. Reach inside, unzip the zipper all the way, and turn the fabric. Then close your seam, put the lining back inside, and iron the whole thing. Finally, zip the zipper and mark where you want your dividers to be. (Each of mine was a hair over 2 inches wide.) Sew from the bottom up almost to the zipper, but don't sew the zipper shut!
Overall, I was really happy with how these turned out, especially since I was just using scrap fabric. If I was going to do it again, I would say to make the whole thing a bit longer; the pockets are a tad narrow, but little fingers can handle it. Also, if it gets too long, you need to worry about maybe folding or rolling the whole thing (and having a closure for it) so that it doesn't get too unwieldy.
My husband laughed (in the most good-natured way) when I told him what I was making the kids for their Valentine's Day gifts; I assured him that they would love these. And they DID...there was so much excitement over giving and saving money! Which, really, is what this whole thing is about.
what we're talking about:
children,
crafts,
handmade,
Holiday Challenge
16 February 2014
L-O-V-E
Holiday project 1! On a whim the day before Valentine's Day, I made these little pillows. The white fabric for the letters is all fuzzy (and was a pain in the neck because it shed all over when I cut it). I went a little crazy with the ribbons and all on the backs. I'm gearing up for the Independence Day skirts I have planned - they'll be in the same red fabric as the pillows (I got a ton of it from my mom when she was clearing out her stash), with a crazy amount of white and blue ribbons and trims for decoration.
02 February 2014
challenge 2014: HOLIDAYS
I've seen blogs with lots of different sewing challenges that I'd like to try - specific colors, sewing something for every letter of the alphabet, sewing for boys (poor guys get left off the sewing lists a lot, but we have no boys at our house), sew specific patterns, etc ...
We're going to have a sewing challenge for 2014:
HOLIDAYS!
We don't really have it nailed down to one thing per month, or these particular holidays, or whatever. Your sewing item does not have to be clothes - it can be anything you want. You can sew as many things as you want for each holiday. No guidelines except ...
HOLIDAYS!
Mindy and I have both started with Valentine's Day. She made pajama pants for Cupcake, and I worked with my girls on making little heart-shaped pillows for their beds or their friends or their dolls. TA is already very possessive of her little pink pillow that I made from some fleece scraps and edged with embroidery floss. So far, we have 3 done with more cut out. One was sewn on the regular sewing machine, and the other 2 were handstitched around the edge. (I'll take pictures later.)
For the next holiday after that in March, I'm going with Read Across America on March 2, Dr. Seuss's birthday. I have some Dr. Seuss prints that I'm making into skirts and dresses for my girls, and we're plotting a trip up to Springfield MA (about 25 miles from where we live) to the Dr. Seuss Memorial - he grew up in Springfield and at the local museum complex, there's a courtyard with a number of statues of his characters. We're waiting for some good weather, and for me to finish their awesome outfits. Mindy has something in mind for St. Patrick's Day. Then of course Easter in April, and on we go.
If anyone wants to join us, we'd love to see what you come up with, both for which holidays you intend to memorialize in fabric, and what you do with it!
We're going to have a sewing challenge for 2014:
HOLIDAYS!
We don't really have it nailed down to one thing per month, or these particular holidays, or whatever. Your sewing item does not have to be clothes - it can be anything you want. You can sew as many things as you want for each holiday. No guidelines except ...
HOLIDAYS!
Mindy and I have both started with Valentine's Day. She made pajama pants for Cupcake, and I worked with my girls on making little heart-shaped pillows for their beds or their friends or their dolls. TA is already very possessive of her little pink pillow that I made from some fleece scraps and edged with embroidery floss. So far, we have 3 done with more cut out. One was sewn on the regular sewing machine, and the other 2 were handstitched around the edge. (I'll take pictures later.)
For the next holiday after that in March, I'm going with Read Across America on March 2, Dr. Seuss's birthday. I have some Dr. Seuss prints that I'm making into skirts and dresses for my girls, and we're plotting a trip up to Springfield MA (about 25 miles from where we live) to the Dr. Seuss Memorial - he grew up in Springfield and at the local museum complex, there's a courtyard with a number of statues of his characters. We're waiting for some good weather, and for me to finish their awesome outfits. Mindy has something in mind for St. Patrick's Day. Then of course Easter in April, and on we go.
If anyone wants to join us, we'd love to see what you come up with, both for which holidays you intend to memorialize in fabric, and what you do with it!
pajama pants
While waiting to get the last of the measurements from Trina, I did my February project and made Cupcake's flannel pajama pants. Same pattern as the first pair, but I added a quarter inch up each side and half an inch across the top. Just that little bit made them perfectly baggy.
And in case you were wondering, these totally count for Valentine's Day because they say "I love Mommy I love Daddy" all over them. That, and pajama pants are cuddly.
what we're talking about:
Holiday Challenge,
KCW 2014,
sewing
Subscribe to:
Posts (Atom)